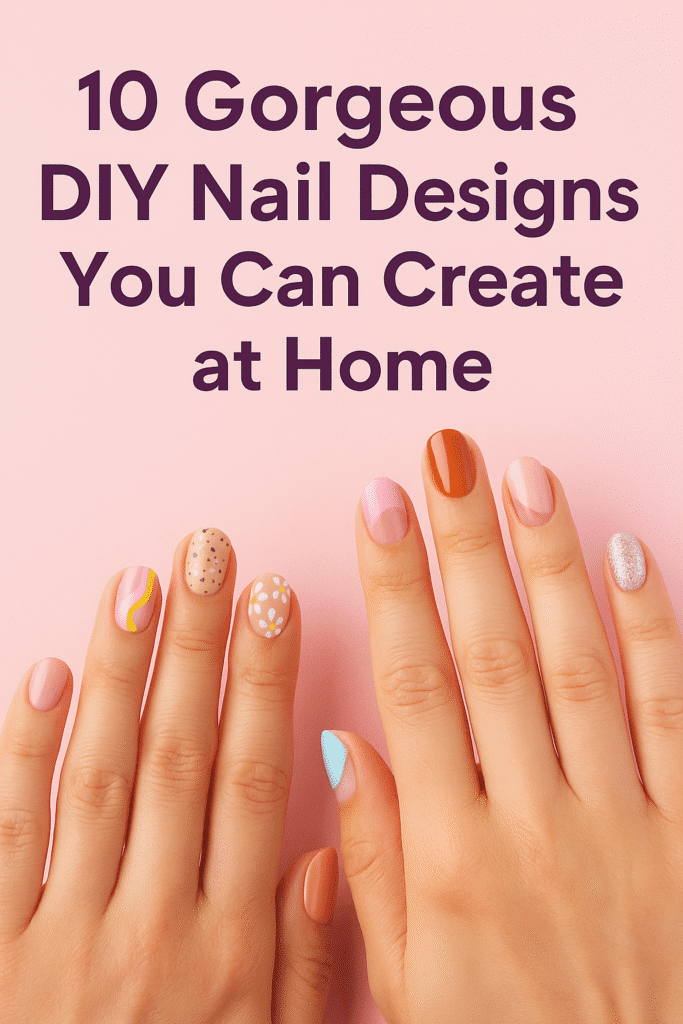
Nail art can be a fun and creative way to express yourself without breaking the bank! From simple patterns to bold designs, you can easily transform your nails into a mini canvas right at home. Grab your supplies, unleash your creativity, and get ready to impress with some trendy DIY nail designs!
Metallic Foil Accents
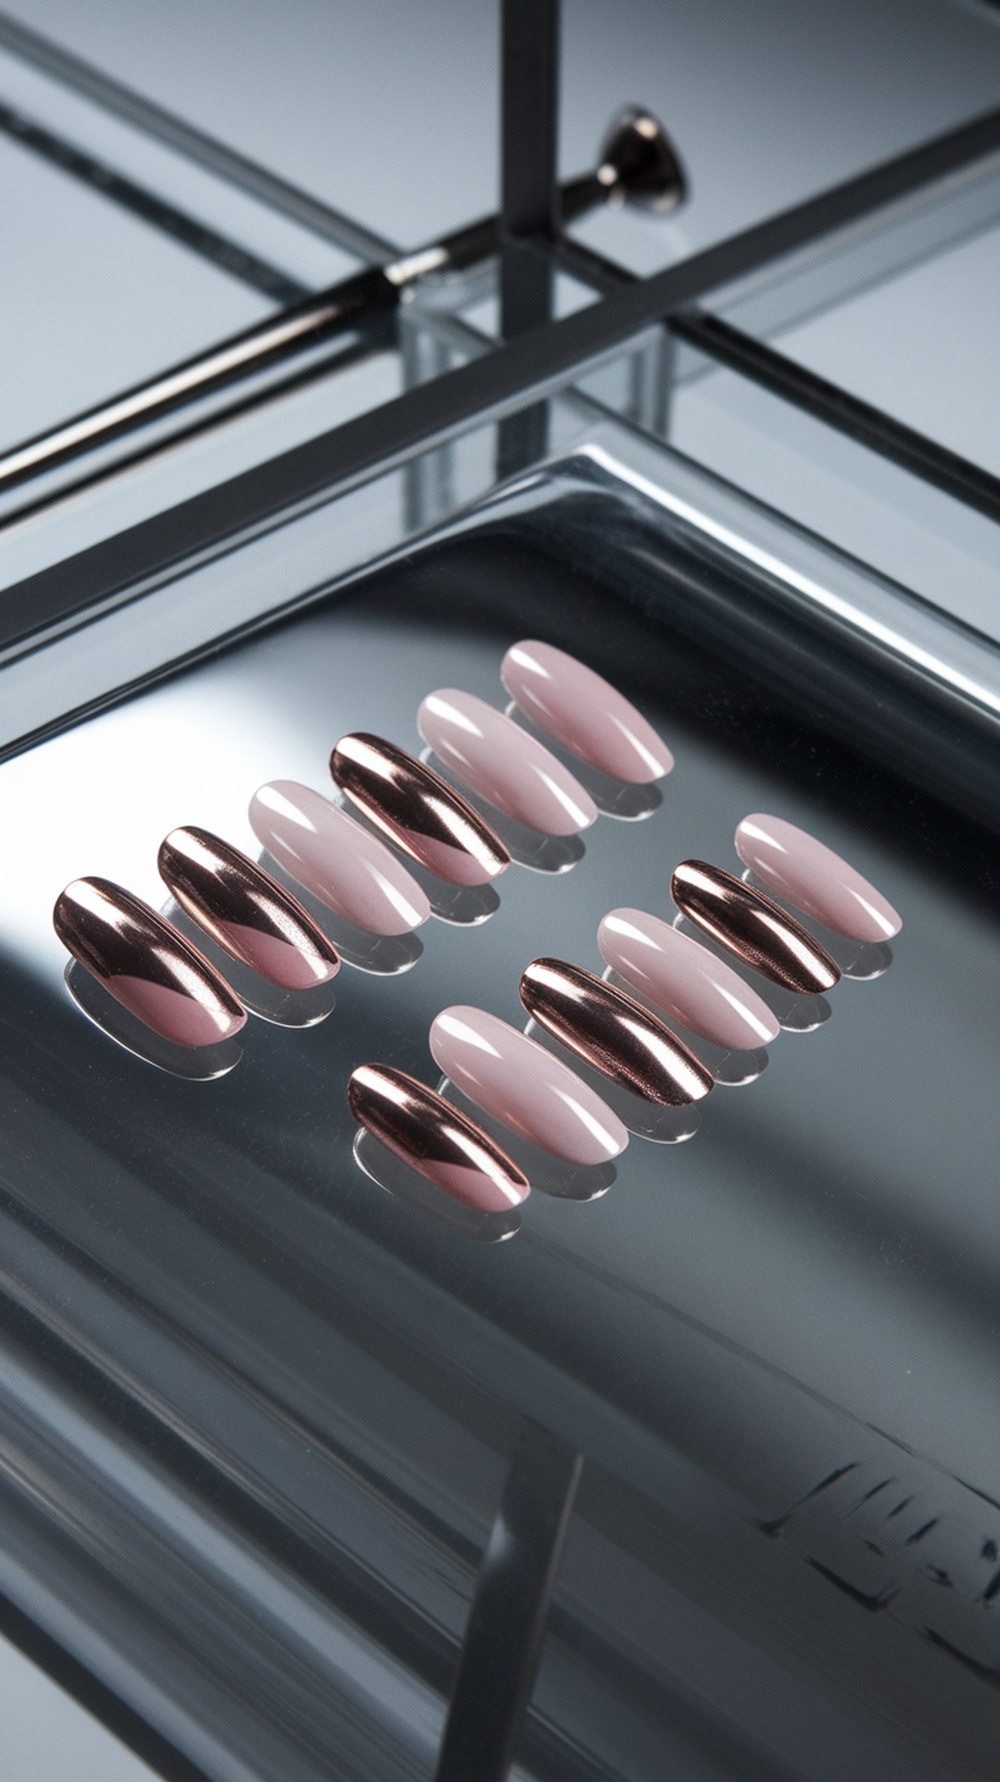
Metallic foil accents can take your nail game to the next level. The image showcases a beautiful array of nails featuring a mix of soft pink and striking metallic finishes. The shiny foil adds a touch of glam that’s perfect for any occasion.
Creating this look at home is easier than you might think. Start with a base coat in a neutral or pastel shade, then apply a layer of metallic foil on select nails for a chic contrast. The combination of matte and shiny surfaces creates a stunning visual effect.
To achieve this design, you’ll need some basic supplies: a base coat, your favorite nail polish colors, and metallic foil. Cut the foil into small pieces and apply them to the wet polish for a seamless blend. Finish with a top coat to seal the look and add shine.
Polka Dot Nails with a Dotting Tool
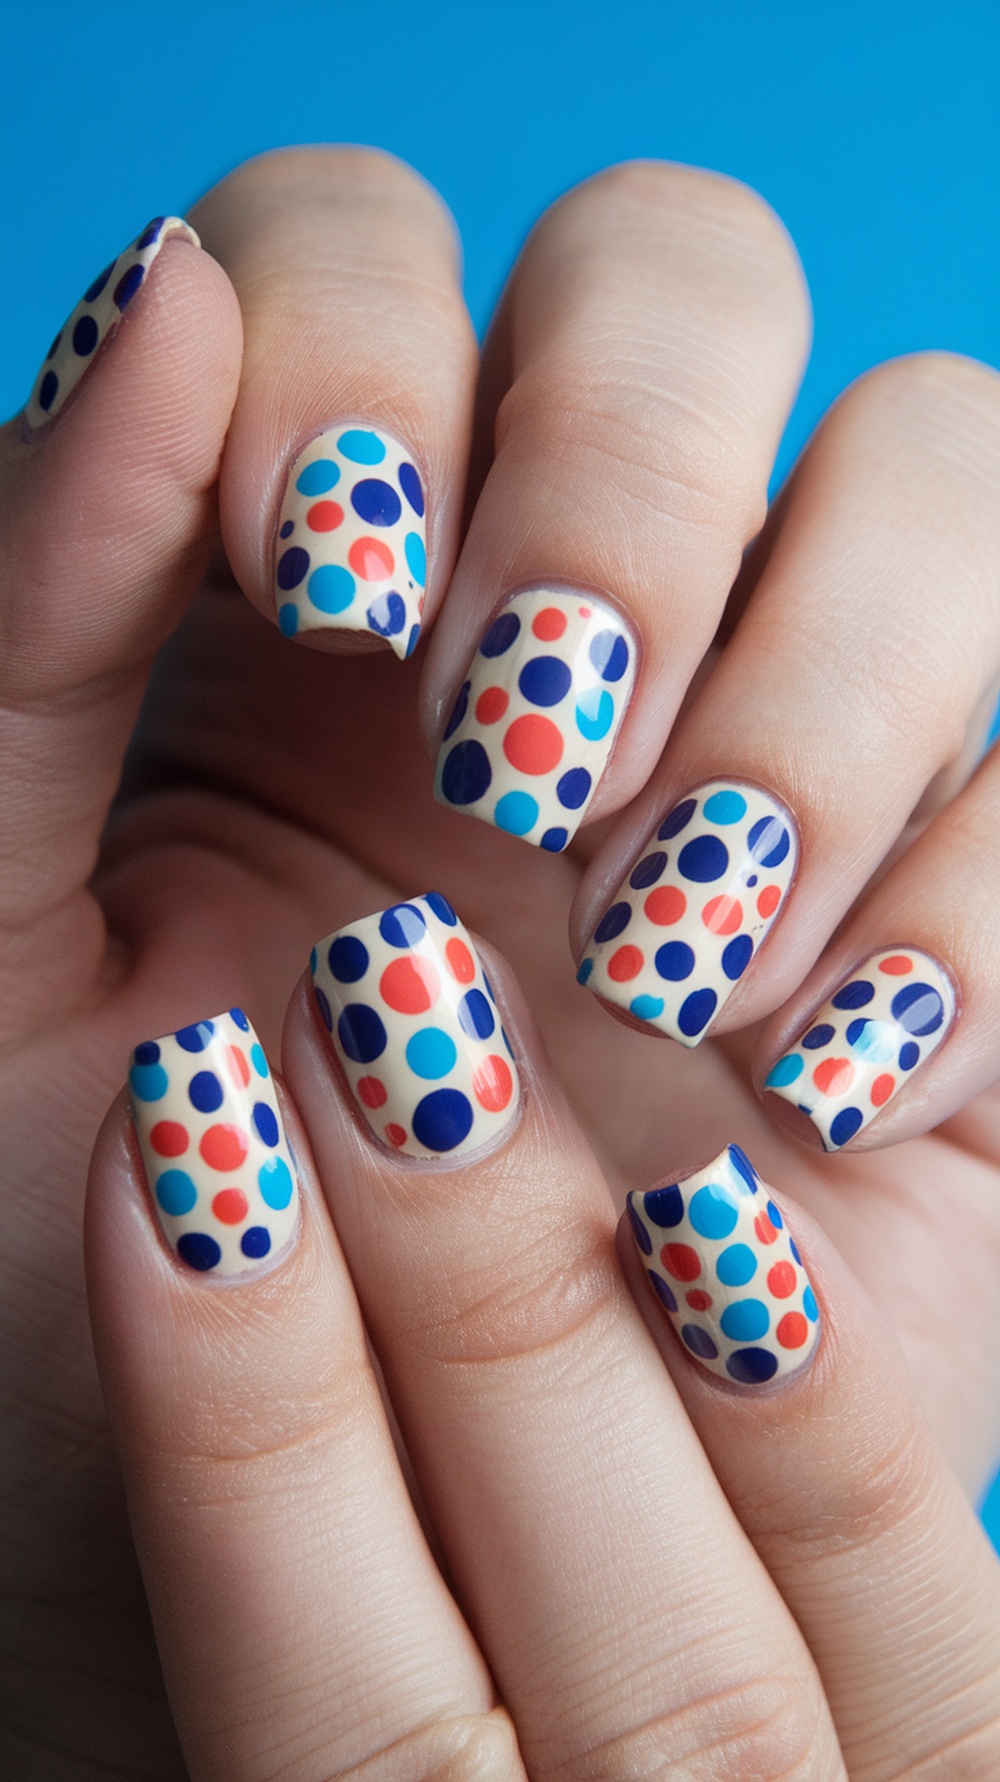
Polka dot nails are a fun and playful way to express your creativity. Using a dotting tool makes it super easy to create this cute design at home. The image shows a hand with beautifully painted nails featuring a mix of colorful dots on a light background. The combination of red, blue, and dark blue dots adds a cheerful vibe.
To achieve this look, start with a base coat to protect your nails. Once dry, apply a light color as your base. After that, take your dotting tool and dip it into your chosen nail polish colors. Gently press the tool onto your nails to create dots of various sizes. You can mix and match colors for a more vibrant effect.
Finish with a top coat to seal your design and add shine. This simple technique can transform your nails into a fun fashion statement. Plus, it’s a great way to spend some relaxing time at home!
Gradient Color Block Nails
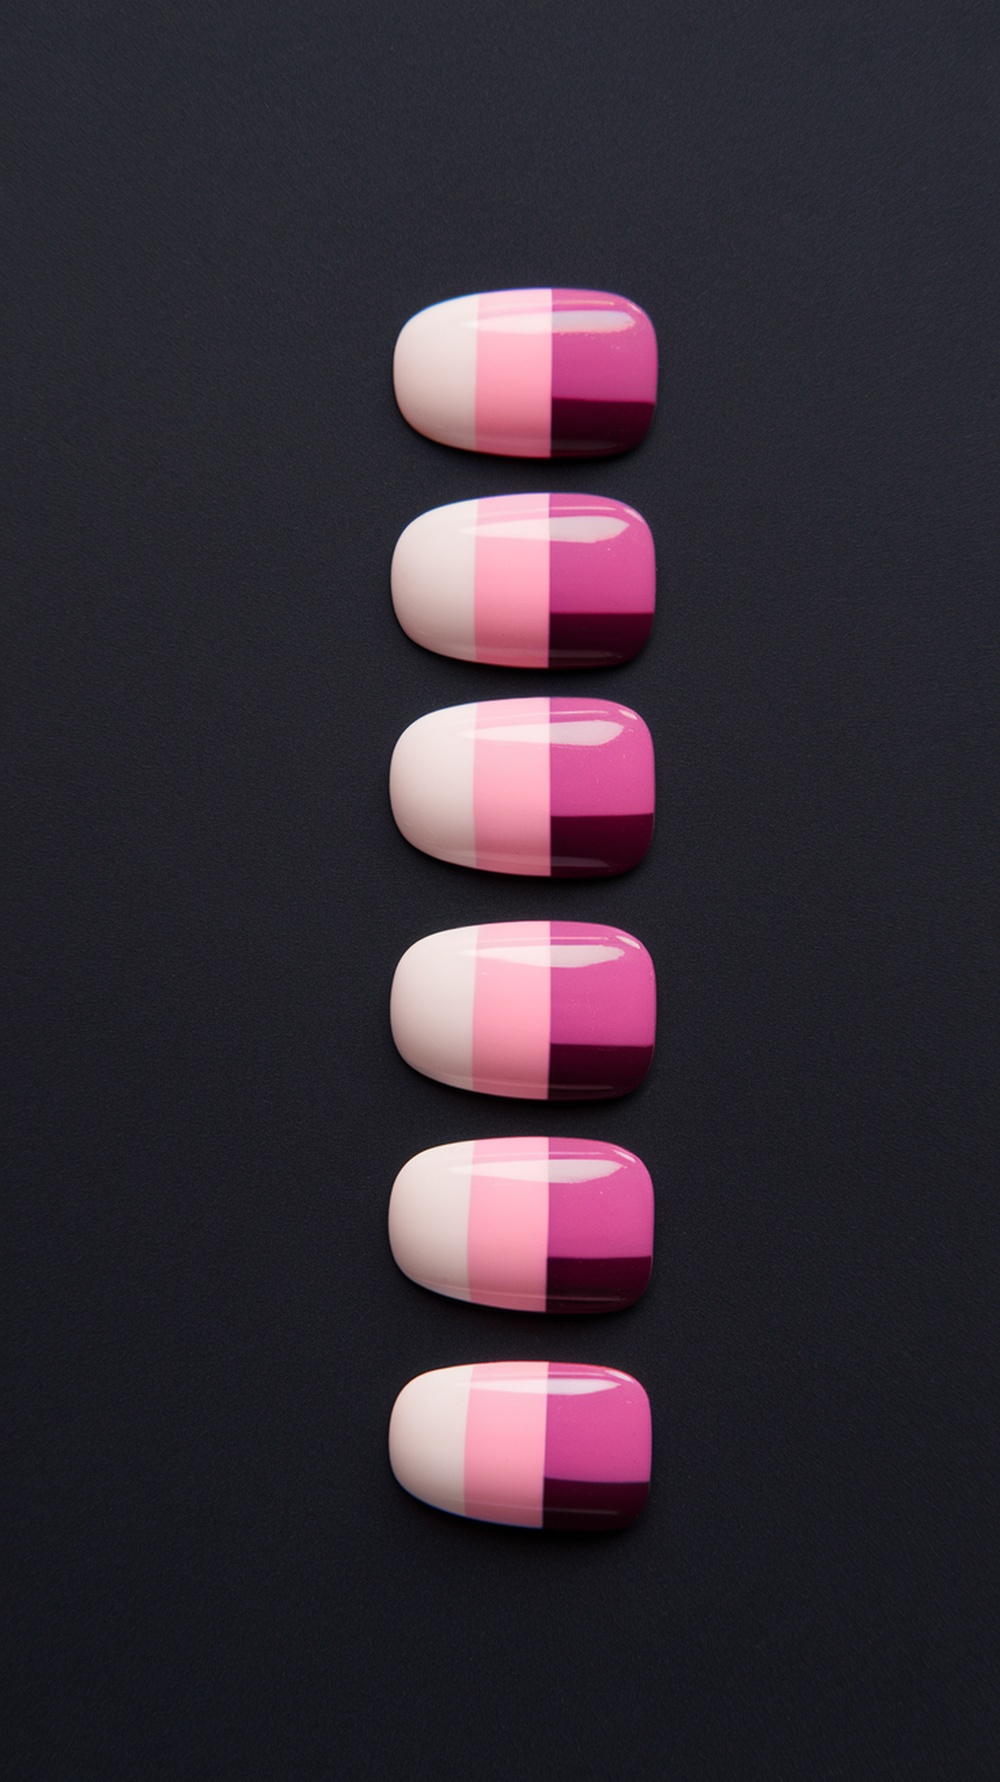
Gradient color block nails are a fun and trendy way to express your style. This design features a smooth transition of colors, creating a beautiful ombre effect. The image shows nails painted in shades of pink, transitioning from light to dark, which adds depth and interest.
To achieve this look at home, start with a base coat to protect your nails. Choose two or three complementary colors. Apply the lighter shade at the base of the nail and gradually blend in the darker shade towards the tip. A makeup sponge can help with blending for a seamless look.
Finish with a top coat for shine and durability. This design is perfect for any occasion, whether you’re going out or just want to brighten your day. Plus, it’s a great way to practice your nail art skills!
Marble Nail Design with Water Swirl
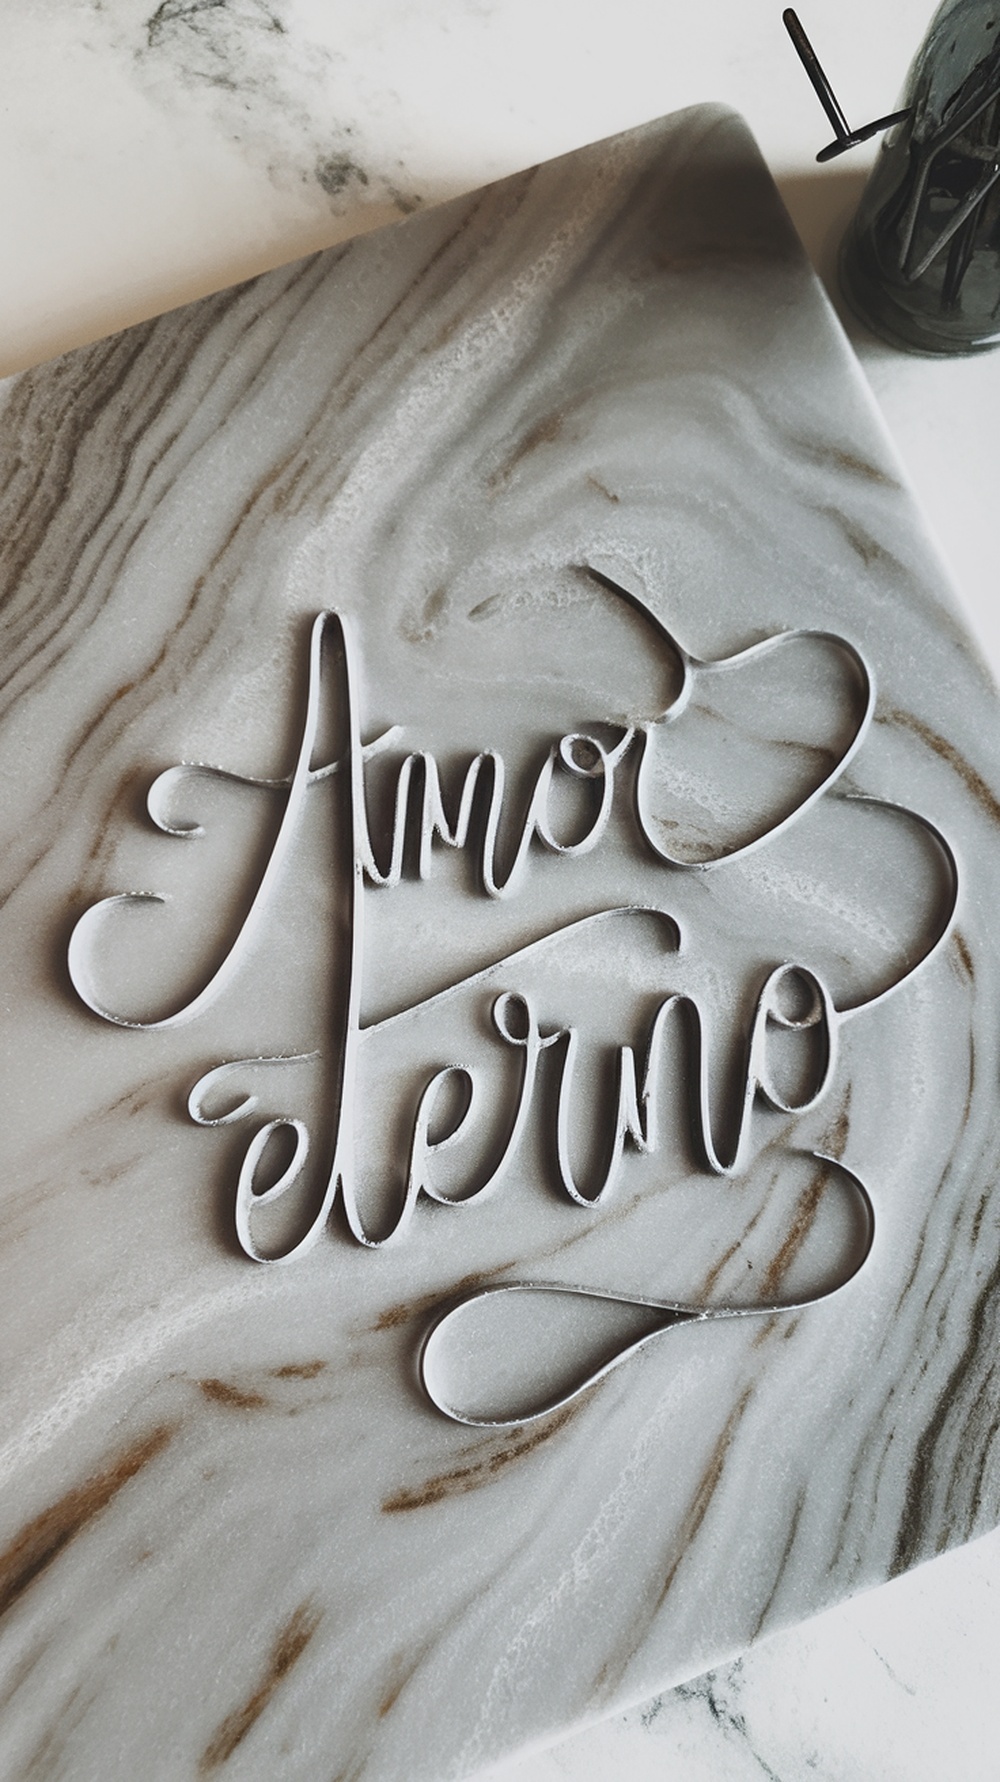
Creating a marble nail design at home can be a fun and creative way to express yourself. This design mimics the beautiful swirls found in marble stone, giving your nails a chic and elegant look.
To start, gather your supplies. You’ll need a few nail polish colors, a bowl of water, and a toothpick or a thin brush. Choose colors that complement each other, like white, gray, and a pop of color for a unique twist.
Begin by adding drops of nail polish to the water. Use a toothpick to swirl the colors together gently. Once you’re happy with the design, dip your nail into the water, ensuring it captures the swirl. Pull it out carefully, and you’ll see a stunning marble effect!
Finish with a top coat to seal your design and add shine. This technique is easy to master with a bit of practice, and it’s a great way to impress your friends with your DIY skills.
Animal Print Nail Art
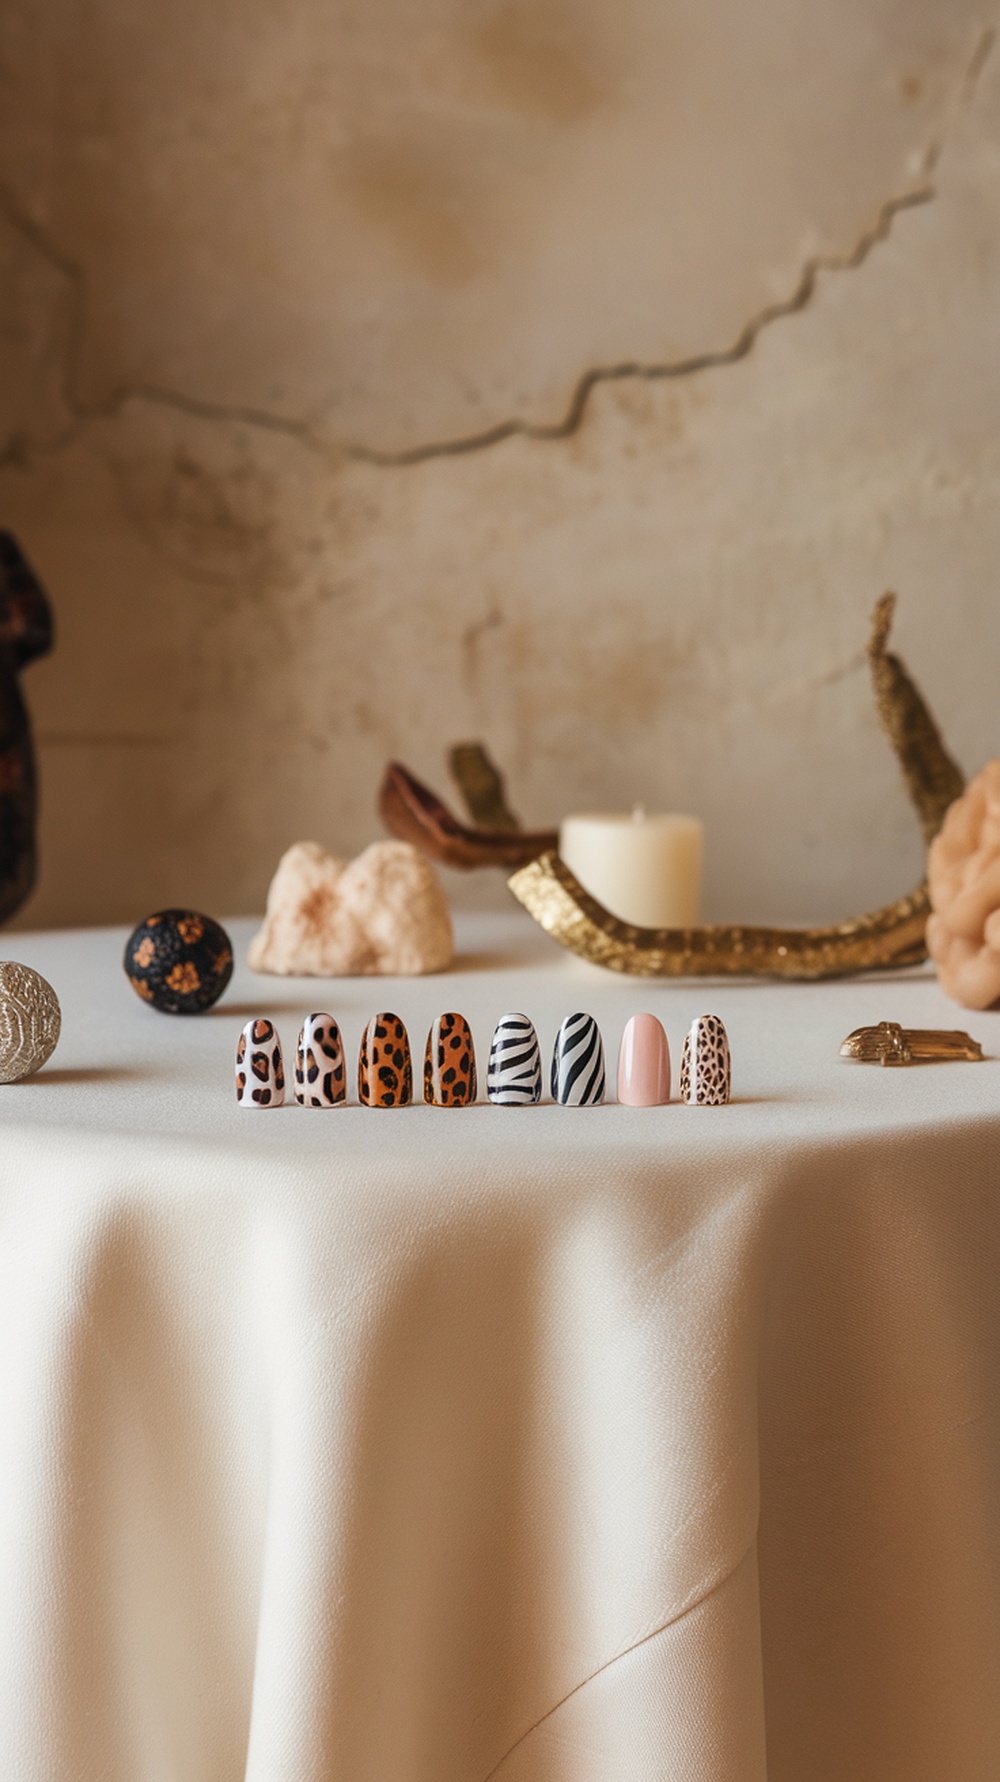
Animal print nail art is a fun way to express your style. The image showcases a variety of designs, featuring classic patterns like leopard and zebra. Each nail stands out with its unique look, making it easy to find inspiration for your next DIY project.
Creating these designs at home is simpler than you might think. Start with a base coat to protect your nails. Then, use nail polish in colors that match your desired animal print. For leopard spots, a tan or brown base with black spots works well. For zebra stripes, a white base with black lines is eye-catching.
Don’t worry if you’re not a pro; you can use a thin brush or even a toothpick to create the patterns. Just take your time and have fun with it! Finish with a top coat for shine and durability. With a little practice, you’ll be rocking your own animal print nails in no time!
Floral Nail Art Using Stickers
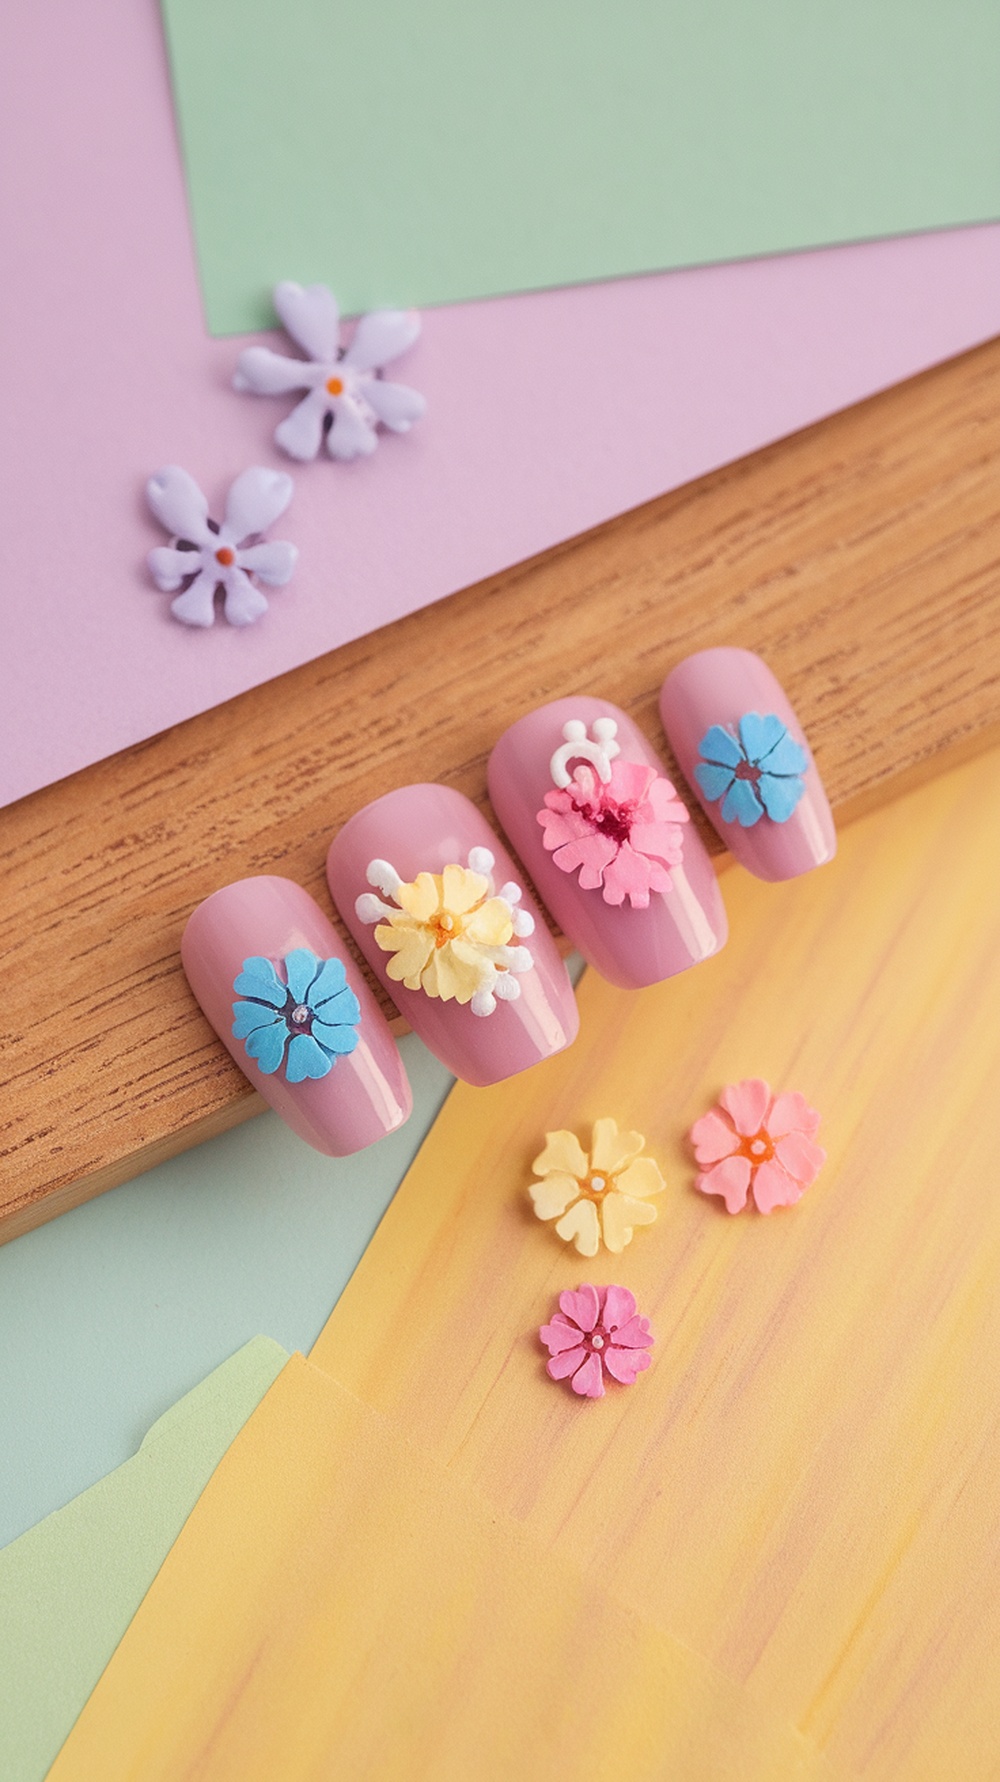
Floral nail art is a fun way to bring a touch of nature to your fingertips. Using stickers makes this design super easy, even for beginners. The image shows beautifully manicured nails painted in a soft pink shade, adorned with colorful flower stickers. Each nail features a different flower, adding a playful vibe to the overall look.
The flowers come in various colors like blue, yellow, pink, and white, creating a cheerful contrast against the pink background. This design is perfect for spring or summer, but you can rock it any time you want to brighten your day. The stickers are simple to apply; just peel and stick them onto your nails after your base coat has dried.
To finish, seal your design with a clear topcoat. This will not only protect your artwork but also give your nails a glossy finish. Floral nail art using stickers is a quick and enjoyable DIY project that can elevate your nail game in no time!
Geometric Patterns with Tape
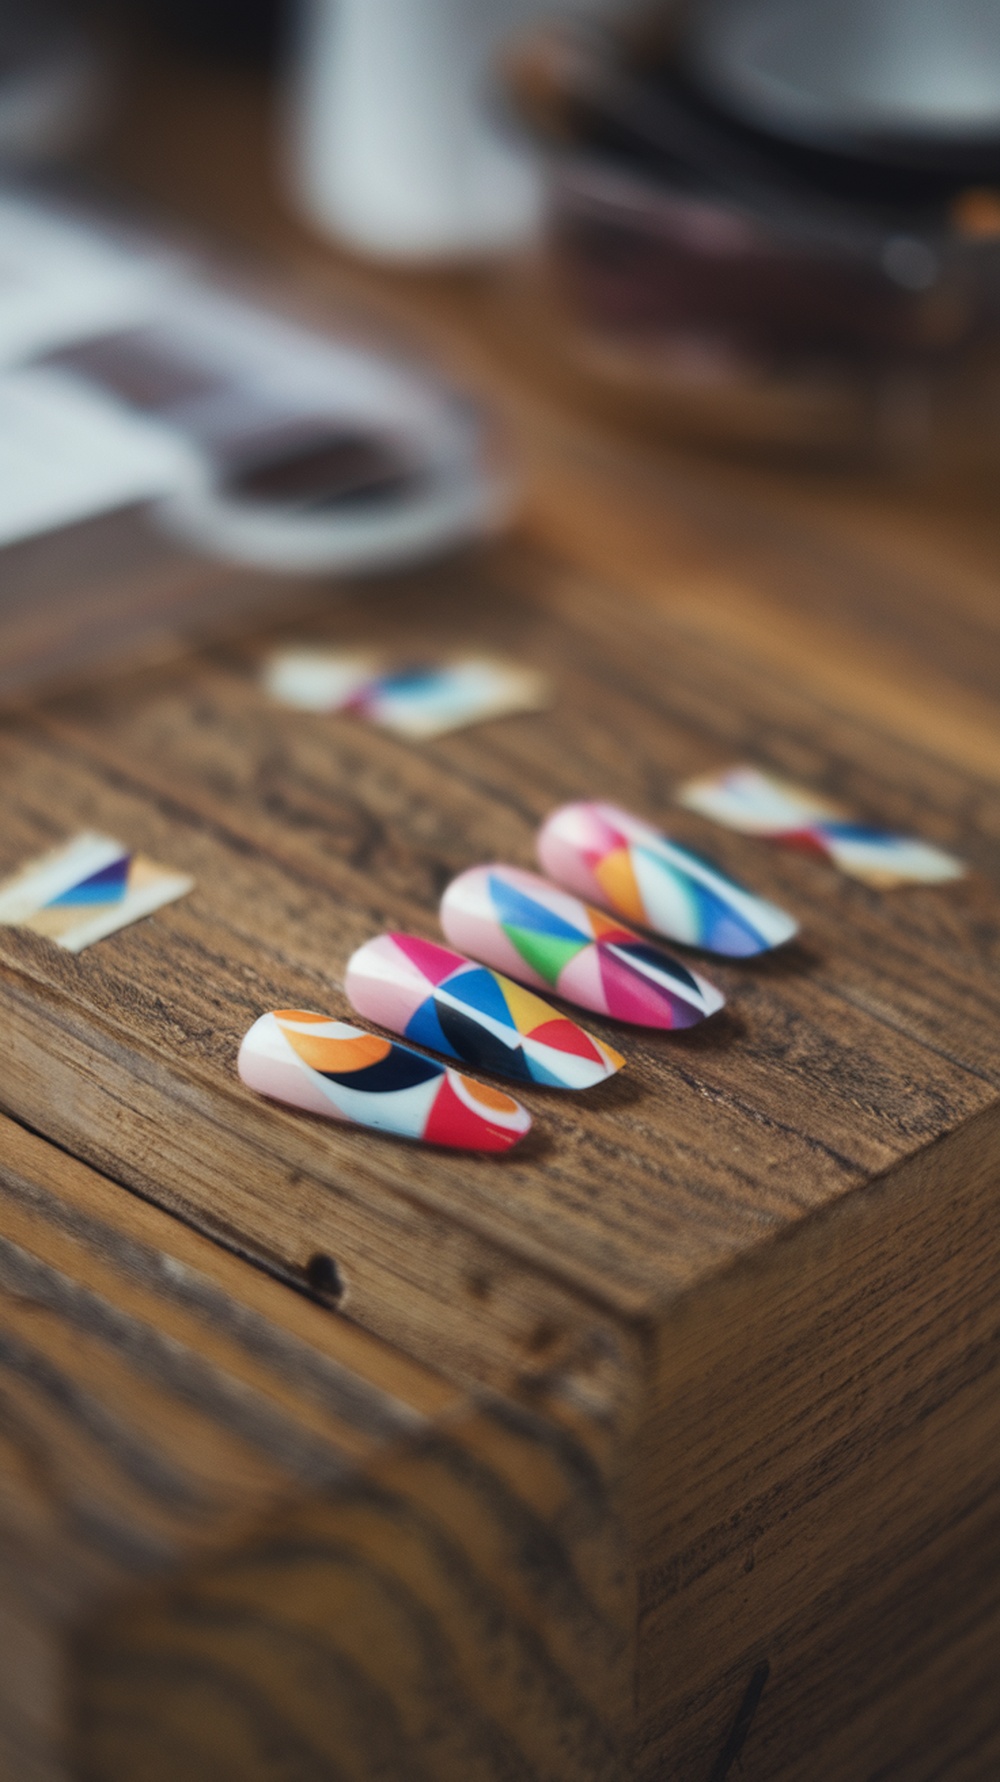
Geometric patterns are a fun way to add a modern twist to your nails. Using tape makes it easy to create sharp lines and unique shapes. The image shows a set of nails featuring vibrant geometric designs, showcasing a mix of colors and patterns.
To get started, gather some painter’s tape or nail art tape. Choose a base color for your nails and apply it. Once dry, use the tape to create shapes like triangles, squares, or lines. Paint over the tape with different colors, then carefully peel it off to reveal your design.
This technique allows for endless creativity. You can mix and match colors to suit your style or mood. The result is a chic and eye-catching look that you can easily achieve at home.
Ombre Effect with Sponge Technique
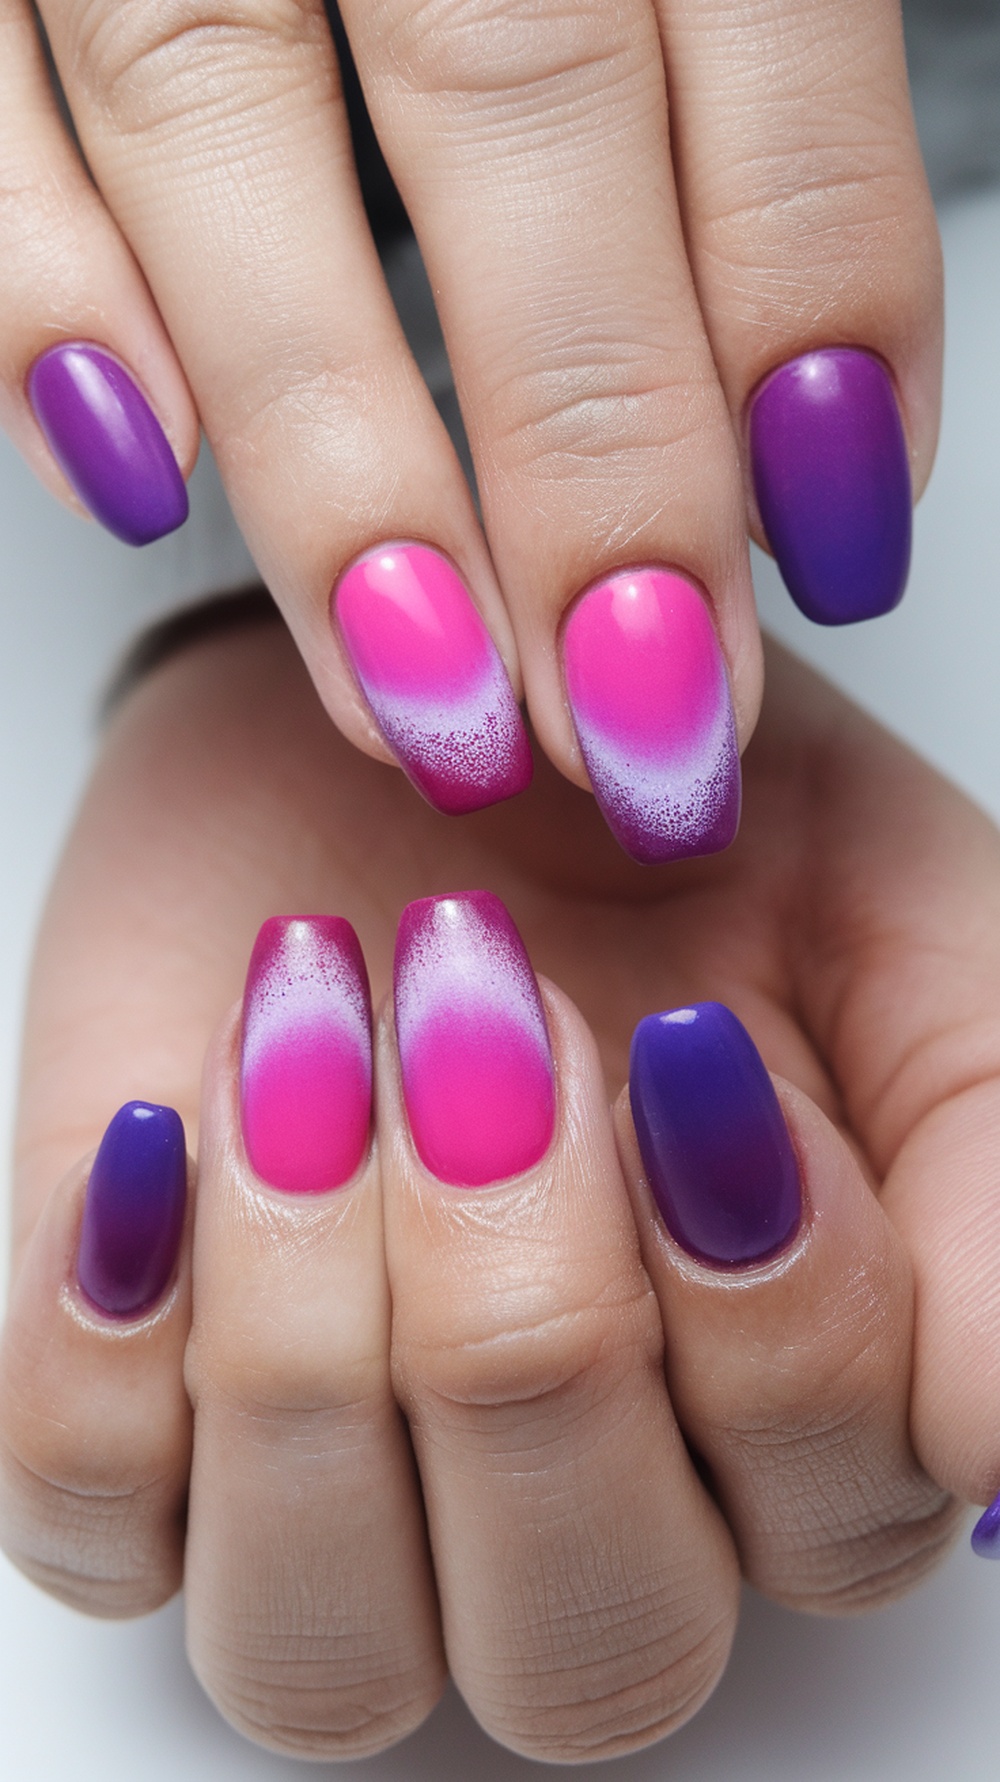
The ombre effect is a fun and trendy way to add some flair to your nails. This technique blends two or more colors seamlessly, creating a beautiful gradient. In the image, you can see a stunning combination of pink and purple hues that transition smoothly from one shade to another.
To achieve this look at home, you’ll need a few supplies: nail polish in your chosen colors, a makeup sponge, and a top coat. Start by painting your nails with a base color. Once it’s dry, apply both colors onto the sponge. Dab the sponge onto your nails, gently blending the colors together. This creates that lovely ombre effect.
Finish off with a top coat to seal your design and add shine. The result is a chic and eye-catching manicure that’s perfect for any occasion. Plus, it’s a great way to express your creativity!
Matte Finish with Glossy Tips
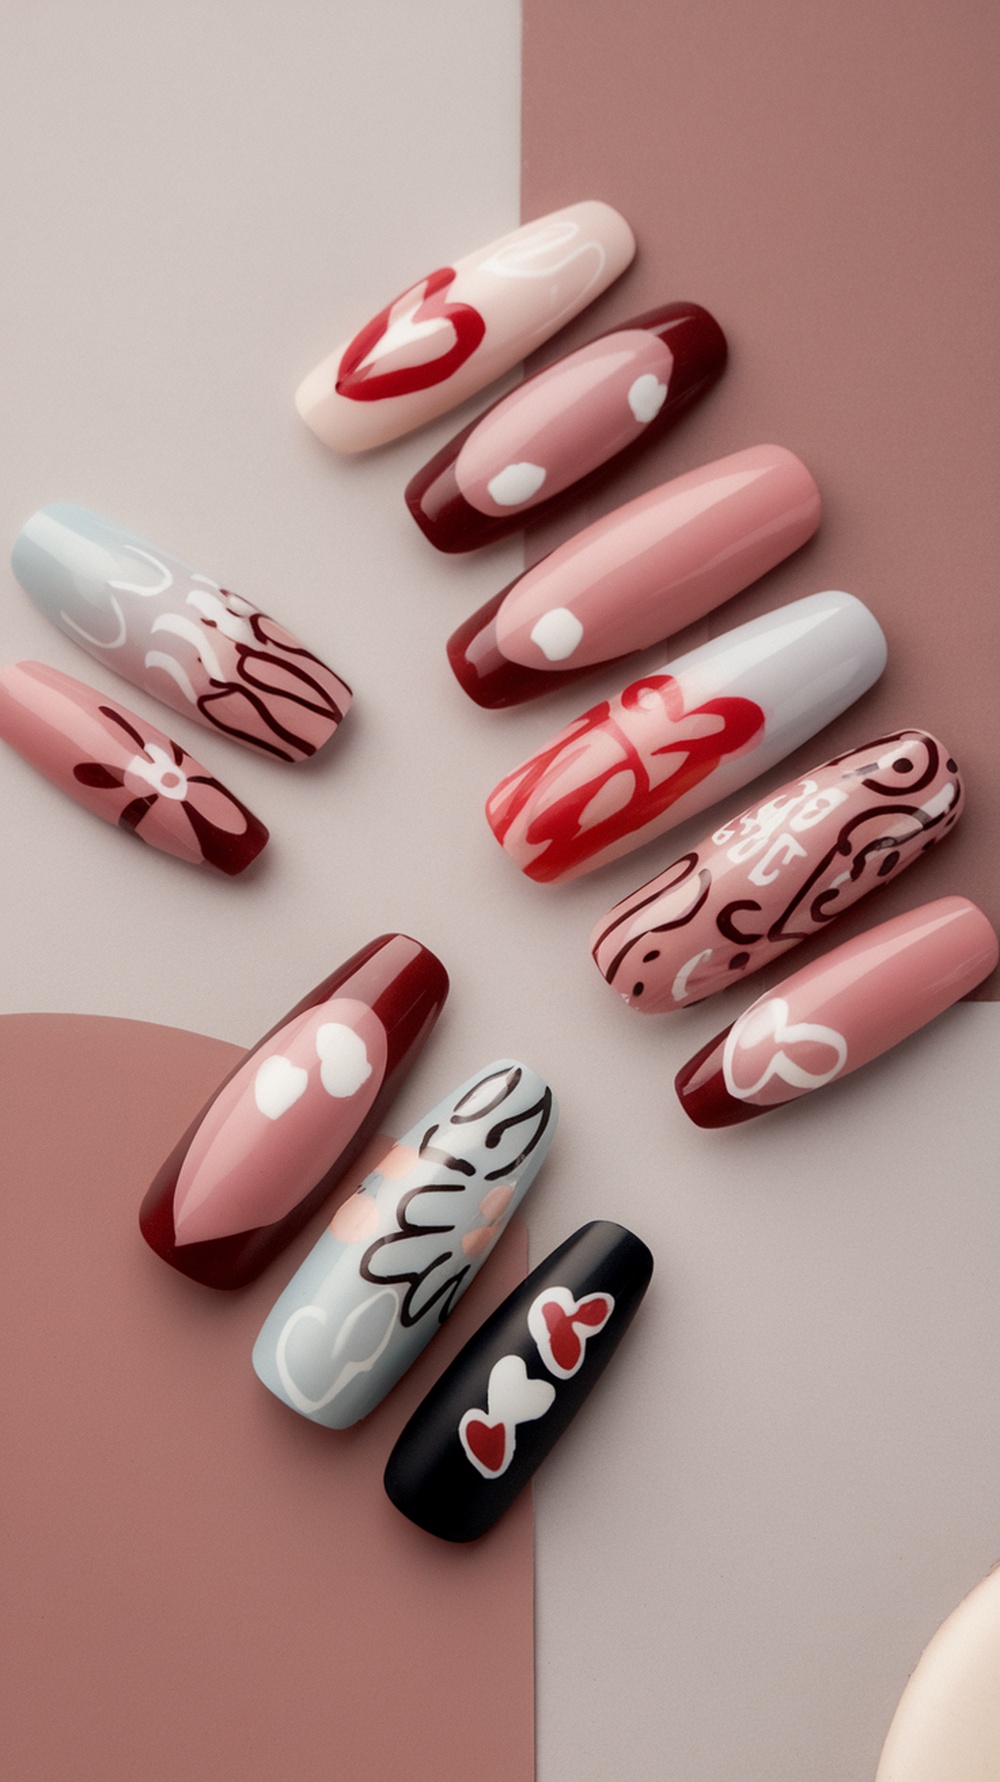
This nail design combines a trendy matte finish with glossy tips, creating a chic and playful look. The contrast between the matte base and shiny tips adds depth and interest to your nails.
The image showcases a variety of colors and patterns, featuring soft pinks, bold reds, and a touch of blue. Each nail has its own unique design, from hearts to abstract shapes, making it perfect for expressing your personality.
To achieve this look at home, start with a matte nail polish as your base. Once dry, apply a glossy top coat only to the tips. You can also use nail tape to create clean lines and patterns. This design is not only stylish but also easy to customize!
Seasonal Themed Nail Designs
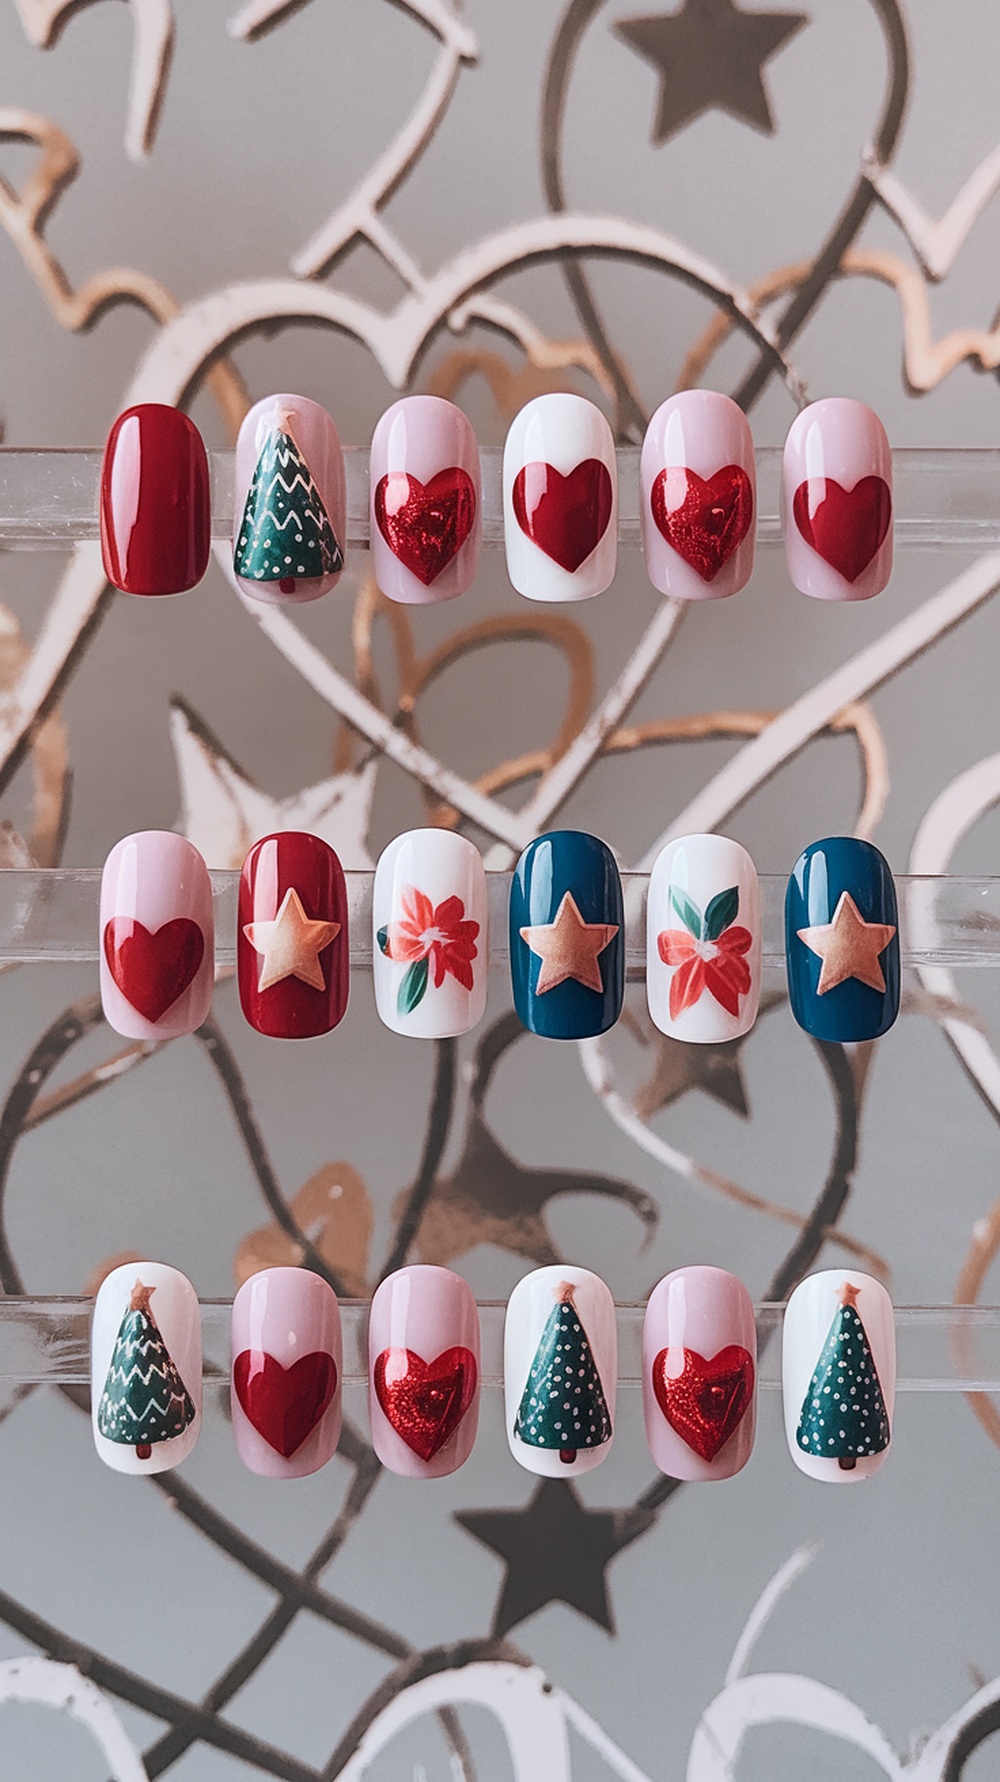
Seasonal themed nail designs are a fun way to express your creativity and celebrate different times of the year. The image showcases a delightful collection of nails that capture the spirit of the holidays. From festive Christmas trees to sparkling hearts, these designs are perfect for any celebration.
The top row features bold red shades and charming green Christmas trees, adding a playful touch to your look. The shiny red hearts bring in a romantic vibe, making them great for Valentine’s Day or any occasion where love is in the air.
Moving to the second row, you’ll find a mix of colors and patterns. The stars and flowers add a cheerful element, perfect for spring or summer events. Each nail tells a story, allowing you to switch up your style based on the season.
Creating these designs at home is easier than you might think. With some nail polish, a few tools, and a bit of imagination, you can bring these seasonal themes to life on your own nails!

